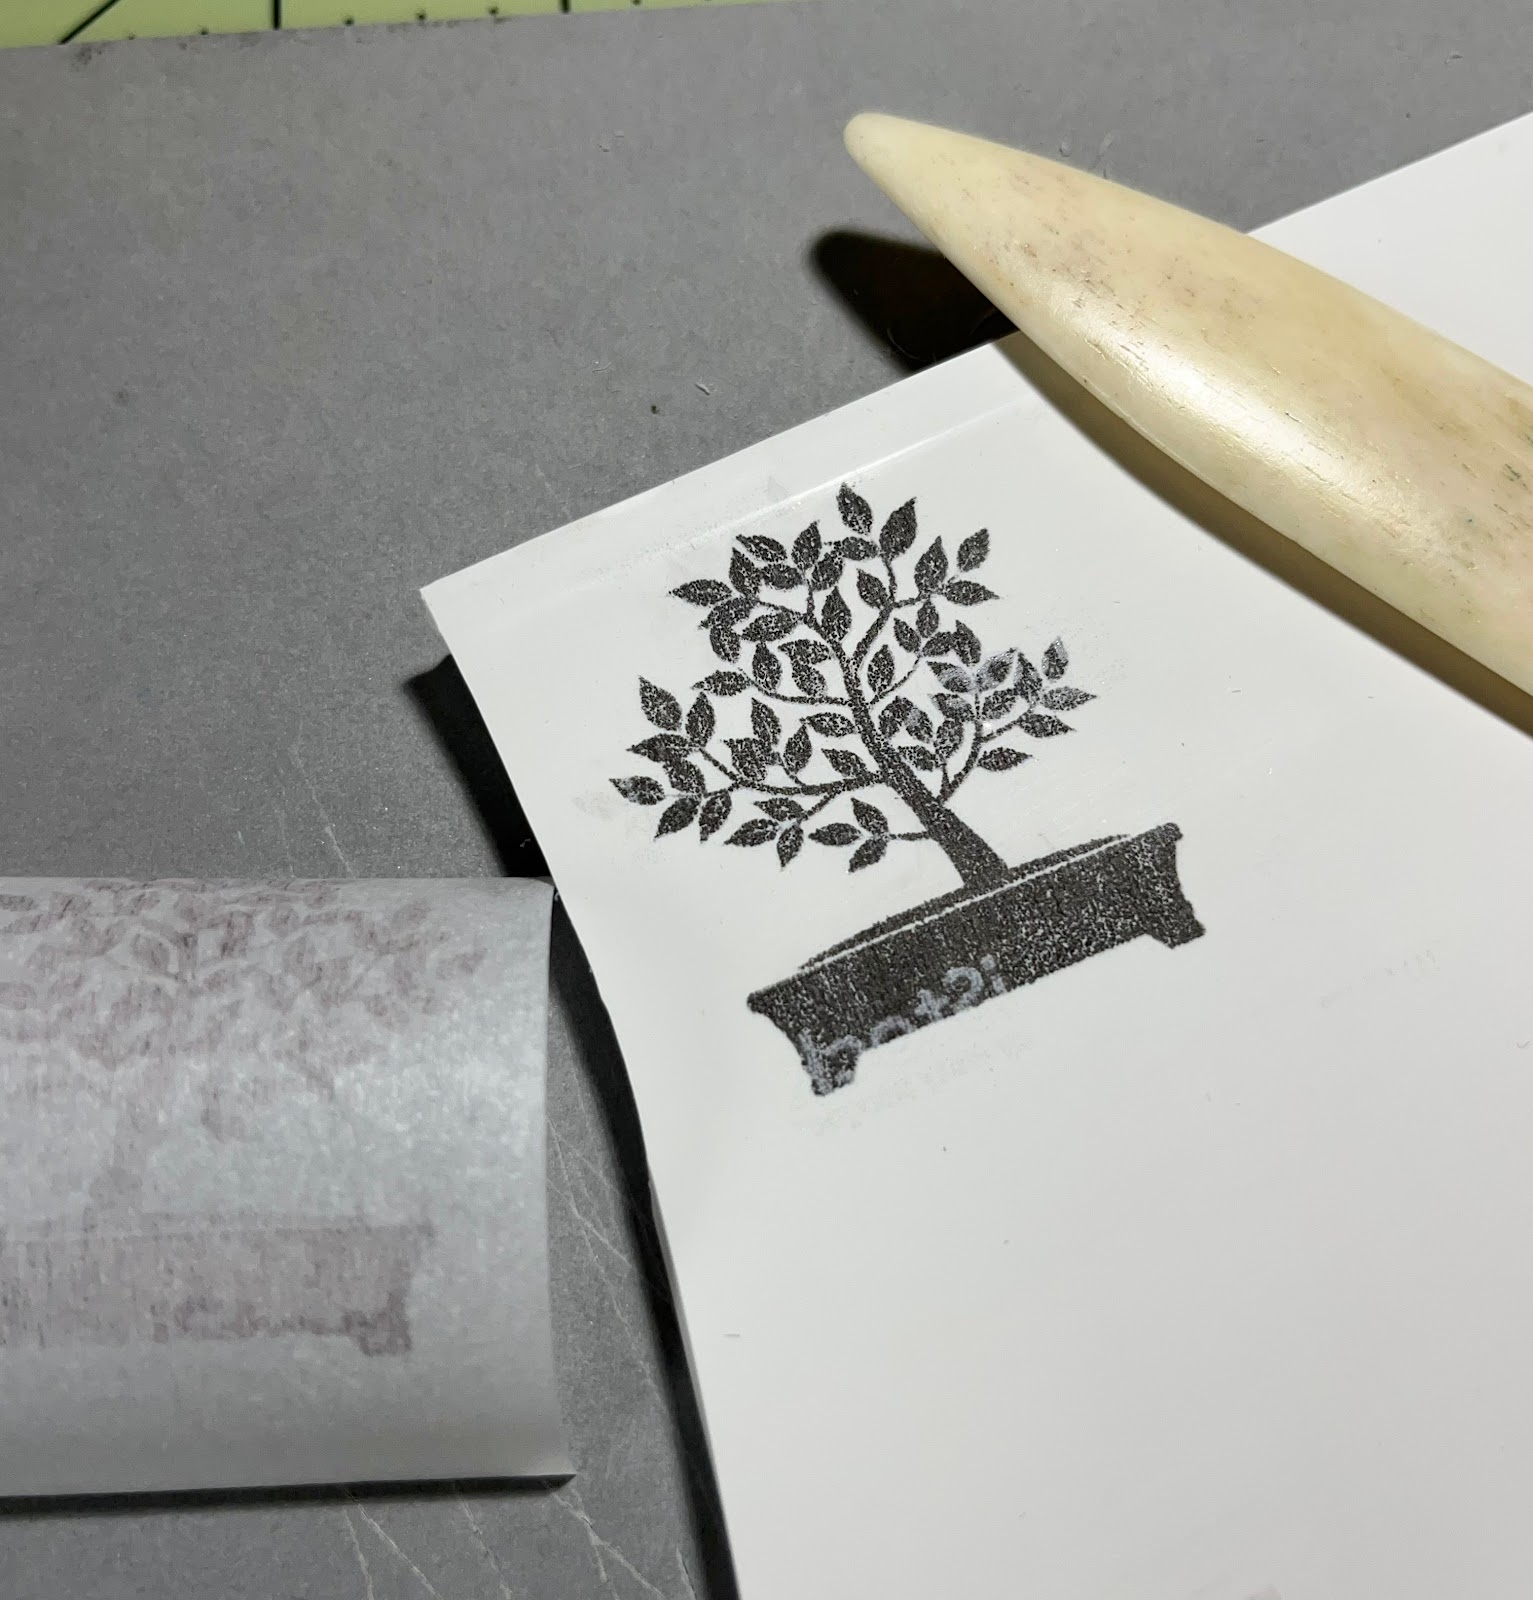
So, after hundreds and hundreds of stamps carved over the years using the pencil-transfer method, the thought occurred to me that if my transfer method provided a sharper image, my carving could also improve. But what method? Last week I asked the AQ Facebook group members which transfer method was their favorite. I heard a lot of answers, and a good number said pencil-transfer, as expected. It is hands-down the easiest and cheapest way to transfer an image to carving medium, and you don't need any special equipment. I also heard plenty about laser printers, toner, and chemicals. But one method I hadn't tried was the parchment method. After encouragement by Aunt Hillarie, I freed the parchment from the nether-reaches of the pantry and gave it a go.
 |
| the first try - success! |
1. print image on plain paper
2. cut parchment to fit over image on the paper and tape it down over the printed image
3. reinsert paper + parchment into printer to print the image onto the parchment
4. remove parchment from paper and position (ink side down) onto carving material
5. using a bone folder, rub the image to transfer ink (just like the pencil-transfer)
6. carefully lift off parchment
Once the inkjet printer ink is on the carving material (in this case Firm Kut), it can be easily smeared. So, I gently tapped yellow Stazon (solvent) ink over the image to seal it. It took a short bit to dry, and then it was ready to carve!
 |
| through the magnifying lamp |
I have carved a few stamps now using this method. I like it quite a lot! Since the inkjet ink does bead up a bit on the parchment, it sometimes does smear a bit when I am burnishing it onto the carving material. It has been suggested to set the printer on 'draft' to result in less ink being printed onto the parchment. In addition, I have found this method does require quite a bit of burnishing with a bone folder, so be sure to carefully check (by carefully lifting a corner of the parchment to peek at the transfer) to see if you are rubbing hard enough to transfer the amount of ink you want on the material.
I think this transfer method has allowed me to carve more detailed images. It is not only because of a more exact image transfer (as opposed to pencil, which is not always as exact as we would like), but also because I think the yellow provides more contrast, thus more accurate carving.
Another bonus - I have started to cover my pencil transfers with this solvent ink, as well, to prevent smearing (while carving) and to provide that wonderful contrast. It would be great if the ink came in 1" pads, but we can't have it all, now can we?
 |
| 3" x 1" on Firm Kut |
 |
| 1.25" x 2.5" on Firm Kut |

1 comment:
I am interested in the use of Stazon to set the toner. You say you "tapped" the ink over the image. Can you explain further? Thank you!
Post a Comment