Showing posts with label decoupage. Show all posts

Monday, December 5, 2011

Four Dollar Tables

On a recent thrift store shopping marathon, I found two very interesting, although ugly, end tables. Poor things - someone had tried to whitewash them and stenciled hokey-looking flowers on the tops. *grimace*

Lucky for me, they were so ugly that they were only marked $4 each, so into the cart they went.

Once home, it was time for a little make-over, so out came the decoupage! Oh yeah!

the supervisor

an opportunity to showcase
some of my favorite scrappin' paper!

why not add a stamp, too...just for good measure?

Here's the other table;
decked out with an old prayer book I had tucked away.

this is the perfect little table for our homeshul!

Wednesday, June 22, 2011

Sprucin' Up

I certainly like to use clipboards - they are my best friend when in the middle of a project with lots of details. I almost can't think through the details of a larger project without one in my hands!  In my current project of de-cluttering my home, I have corralled a few of my beloved clipboards.  I have to admit, they were lookin' a little worse for wear.

After being inspired at a quaint antique store I had the pleasure of visiting this last weekend, I decided they needed a little sprucin' up...a much needed a face lift.  

This first one was definitely the workhorse of my clipboard entourage - it's an old fashioned, heavy one which has a real feel of authority to it.  *smile*  I decided it needed some antique-looking decoration.  I used  Collage Pauge and some fun scrapbooking paper - see what you think...

it's like a giant LTC!


This clipboard rode around in my shul bag for assorted smaller projects and the much needed word-searches.  It already had a Star Wars theme; I had stamped a bunch of my SW stamps onto the bare wood.  But, this - yeah, I like this much better.  I found this paper at Ben Franklin, and it had to come home with me.

(it looks the same on the back)

But, this last one is the fun one.  Inspired by a recent acquisition of a special coffee LTC (thanks MiSs cHiEvOuS!), I chose some of my favorite rubber stamp art out of my massive collection to grace this clipboard.  I look forward to sharing this one with others in the future.  I'm sure they will be in awe.

I used spray sealer prior to adding the
Collage Pauge so the ink didn't run.


I think these are artistic enough to just hang on the wall - I love them!

Wednesday, June 15, 2011

Just a little craft project...

Haven't been doing much carving lately, partially due to major life changes and partially due to the serious lack of my favorite carving material (PZ Kut).  But, I did try my hand at decoupage with some very fun results!

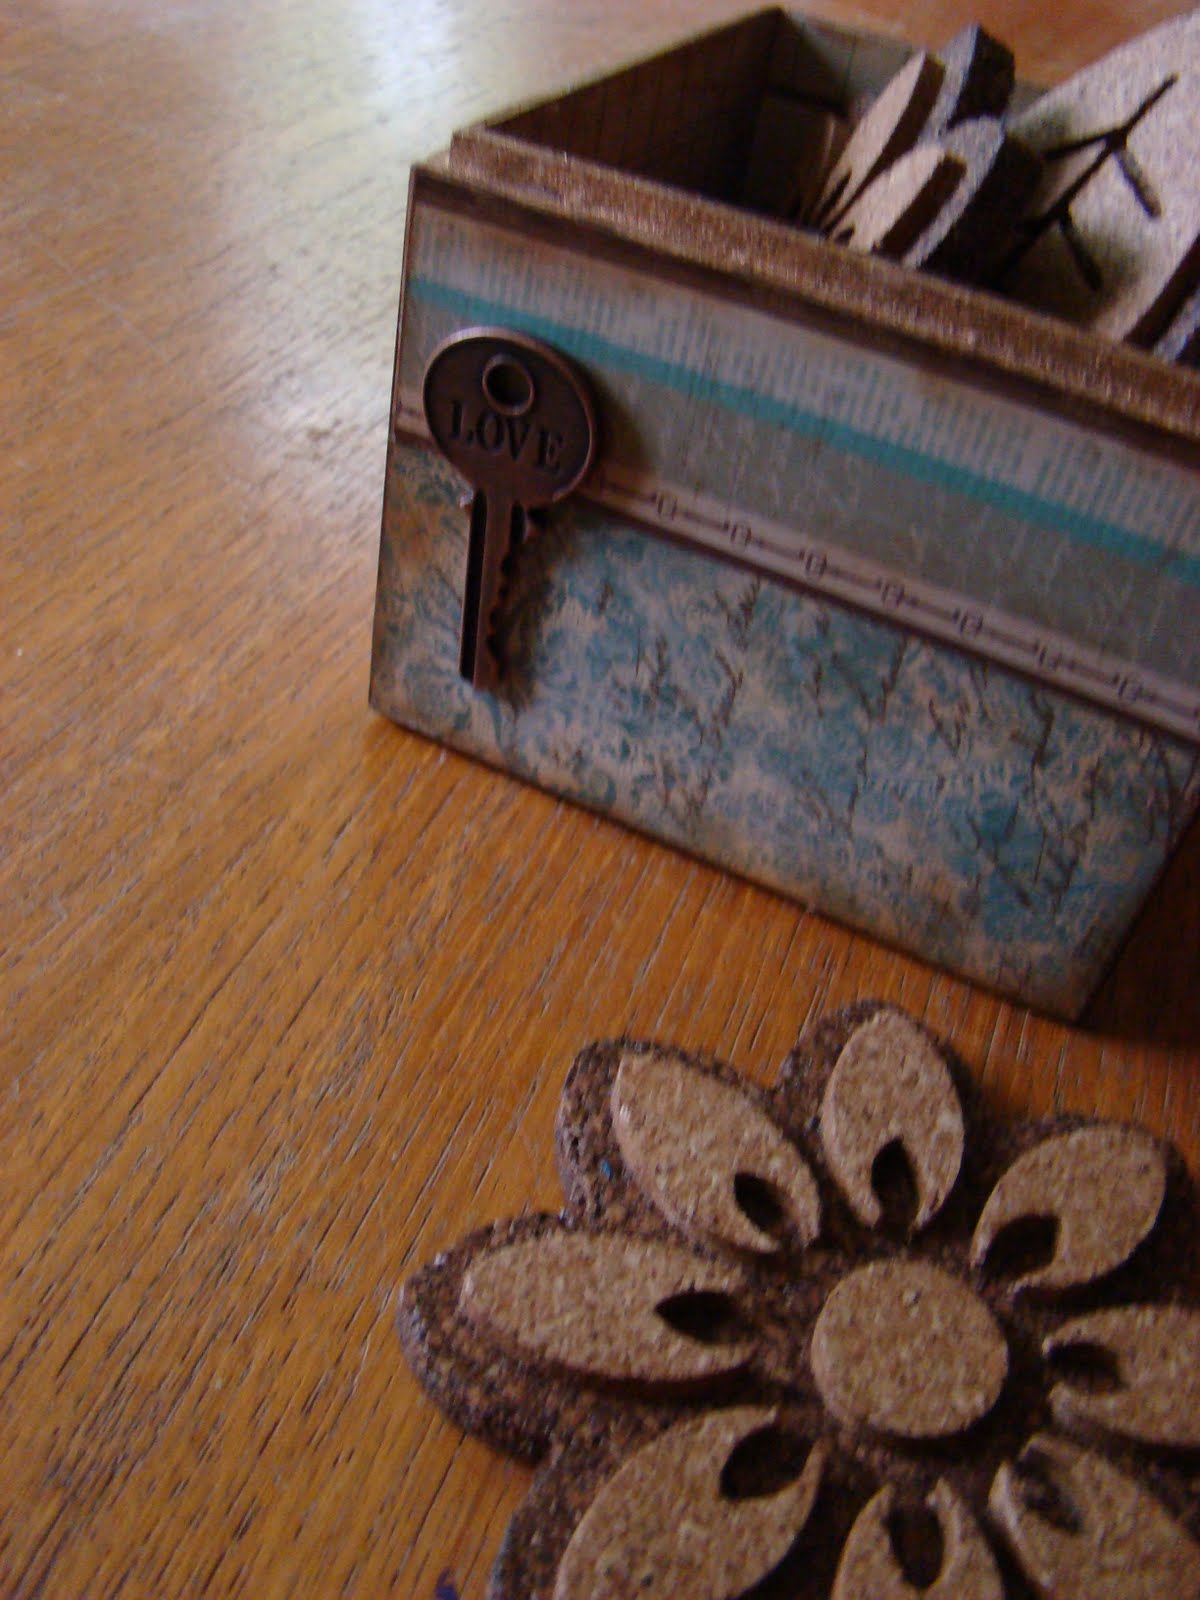
what started out as a simple box and some cool scrappin'
paper became the box for some interesting coasters...

I was going for the antique-y look to go with some
other boxes I have going on in the room...

I added a key embellishment to compliment the key
motif in one of the papers I chose.  These cork 'coasters'
are really big stamps - at least they were by the other stencils and stamps...

you've gotta love flowers and leaves  :-)
Also, I brushed on some gold leafing around the top edge.

even the inside is fun; I used paper with an antique feel

the bottom - yep, it's me!
One thing I would suggest, if you are about to embark on some decoupaging of your own; use Collage Pauge Instant Decoupage (I chose the matt finish).  It is far superior to Mod Podge, and doesn't leave you with a tacky project (that's what I hate about Mod Podge).  It's almost twice as expensive as M-P, but it's well worth it.  (I also used this to seal the cork 'coasters' so they wouldn't crumble with handling and use - worked great.)

A word about paper; I selected three 12x12 sheets that were closely related and making sure one had an accent color to make the project pop.  Mindfully measure and cut carefully, and layout your design prior to gluing down (using the Collage Pauge).  I found that using a sponge 'brush' gave a more even application than a brush, and no stray brush hairs in your finished project.  Also, if doing a box shape, don't neglect your rotary cutter and cutting mat - these tools worked great to cut excess paper off the sides.  Use a piece of fine grit sandpaper to marry edges together and then bust out your favorite corresponding ink pad and sponge dauber to give it a soft, aged look around the edges.

Tim Holtz has some incredibly cool feet that you can attach to a box such as this, but they were a whopping $7 (which is cheaper than I found them online) just for the feet.  Well, that was out of my budget on this trip, but I can add them later, if I want.

Have you ever tried a decoupage project?  I'd love to hear about it!
Blog Widget by LinkWithin